Shopify - is one of the best e-commerce solutions nowadays because of its high quality, continuous development, and reach functionality. One of the exciting functions - is Shopify tags. Tags in Shopify are more than just labels. They are good merchant helpers for organizing products, enhancing search functionality, and improving store management. Whether you're a newbie or a seasoned Shopify store owner, editing Shopify tags can significantly uplift your store's user experience.
Understanding Shopify Tags.
Tags are short descriptors, like "sale," "vintage," "VIP buyer," or "Fulfilled," that you can add to products, customers, orders, and more in Shopify. They help in categorizing and organizing your store content. Shopify tags remain invisible to shoppers, yet they are pivotal tools for classifying items in your store and refining customer search outcomes. Unlike collections or product types, tags offer a more flexible way to categorize items. They can be universally used across different categories.
NOTE: For example, as the summer season ends, you can filter products labeled with the "Summer" tag on your Catalog page and Collections.
Step-by-Step Guide: How to Edit Tags in Shopify?
Editing tags in Shopify is a really simple process - you can do it when you create or edit products. Here's how to do it with 4 simple step:
- Go to your Shopify admin panel and click on the “Products” menu item.
- Select the product you want to edit by clicking its title.
- In the “Tags” field, add/edit/remove tags as required.
- Click “Save” to apply the changes.
Following these steps, you can update and modify tags easily for each product in your Shopify store. This method ensures efficient tag management. However, for store owners managing larger inventories, it's better to utilize bulk actions to save time and effort. Well-organized tags contribute to better management of your online store.
Why Should You Edit Tags in Shopify Regularly?
Editing Shopify tags regularly helps keep your inventory levels accurate and assists customers while placing orders. Editing tags can significantly impact your online store's efficiency, user experience, and profitability. Up-to-date tags ensure that your store remains organized, products are easily discoverable, and you stay one step ahead in the competitive e-commerce landscape.
Here are some key, but not all, benefits that you can get from keeping tags actual:
- Accurate Product Categorization: Some products may evolve or change categories over time. Regularly updating tags ensures that products are always in the right category, smoothing inventory management.
- Seasonal Promotions: For stores that have seasonal products or promotions, tags can be instrumental. As seasons change, so do the tags, ensuring that seasonal products are highlighted or hidden as needed.
- Improved Search Functionality: Regularly edited tags can enhance the search functionality of your store. It ensures that products are accurately displayed in search results, improving customer satisfaction.
- Targeted Marketing Campaigns: Tags can be used to segment products or customers for specific marketing campaigns. Regularly updating these tags ensures your marketing efforts are consistently targeted and relevant.
- SEO Benefits: Search engines value updated and well-organized content. Regularly edited tags can improve your product pages' SEO, leading to better organic traffic.
How to Edit Tags in Shopify?
How to add tags in Shopify?
Adding tags in Shopify is a simple process. To add tags, follow this instructions:
- Step 1: Navigate to the specific product, transfer, customer, blog post, order, or draft order in Shopify.
- Step 2: Enter your desired tag name in the Tags section or choose from the existing tags. Entering a new tag name will automatically create this tag for future usage.
- Step 3: Press “Save."
How to remove tags in Shopify?
Removing tags in Shopify is also a simple process. To remove tags from products, transfers, customers, blog posts, orders, or draft orders, follow this instructions:
- Step 1: Navigate to the specific product, transfer, customer, blog post, order, or draft order in Shopify.
- Step 2: Click the X near the tag you want to remove.
- Step 3: Click “Save.”
Advanced Techniques of Editing Tags with the Pro:Tagger Shopify app.
You won't face difficulties working with 1-3 tags in your store. However, managing them can become a nightmare once the number of tags becomes large, requiring significant effort. We at Nexusmedia have developed the Pro:Tagger Shopify app to simplify this process. The app will help you with all the actions related to tags. Let's look at how you can add/remove/edit tags with the Pro:Tagger app.
Step 1: Install the Pro:Tagger app from the Shopify App Store

Pro:Tagger ‑ bulk & auto tags
Flows/automations to tag your customers based on order details. Bulk customers tags & products tags

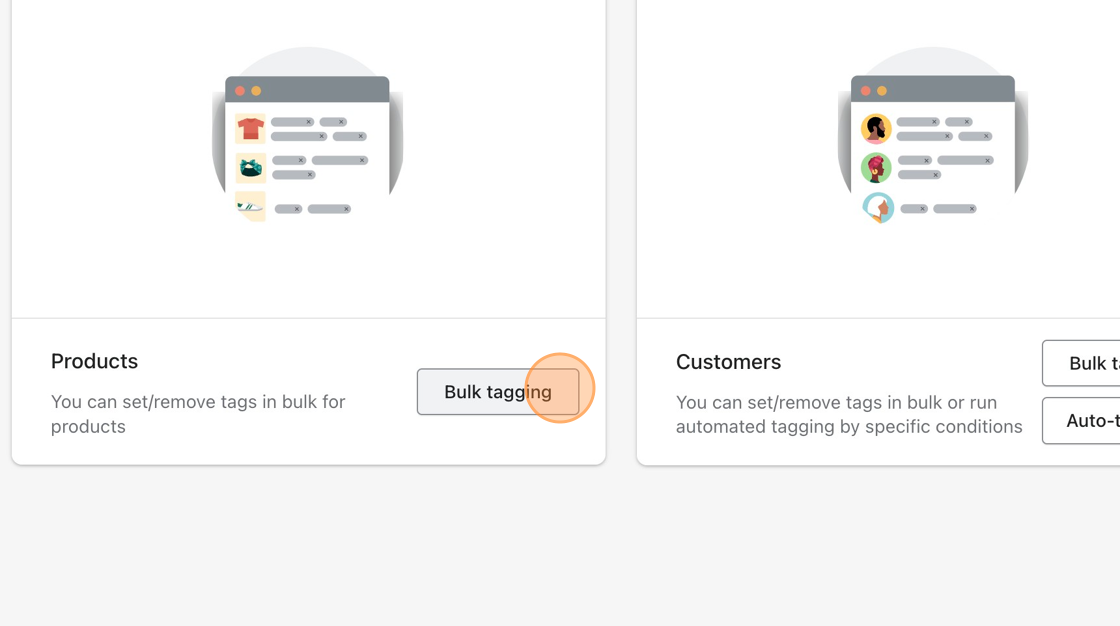
Step 2: On the app's dashboard click "Bulk tagging".
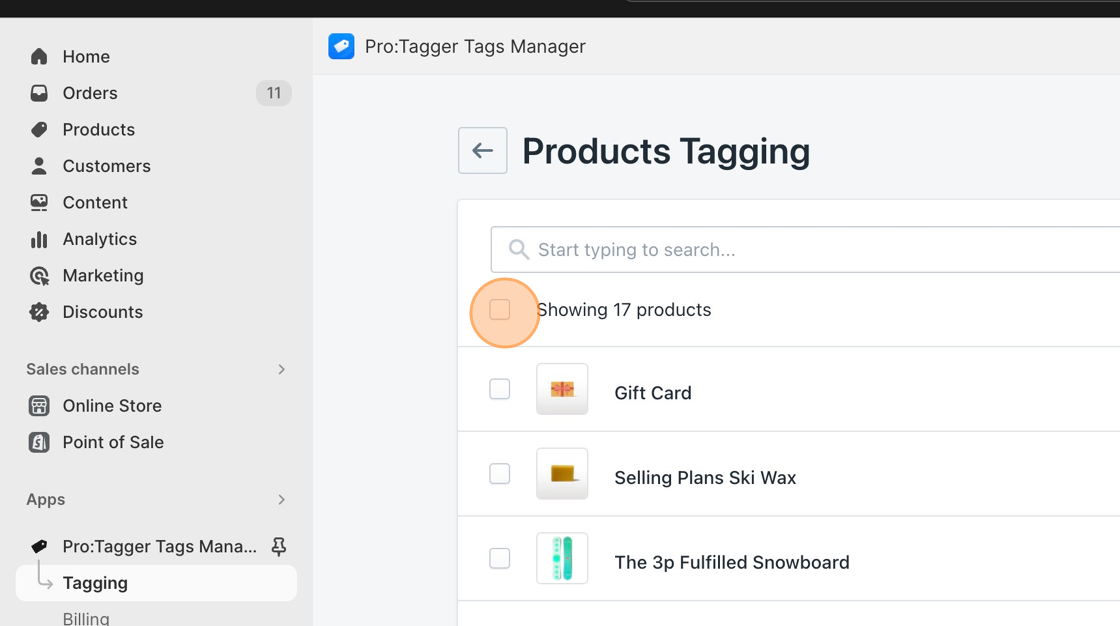
Step 3: Select products(s) you want to add tag(s).
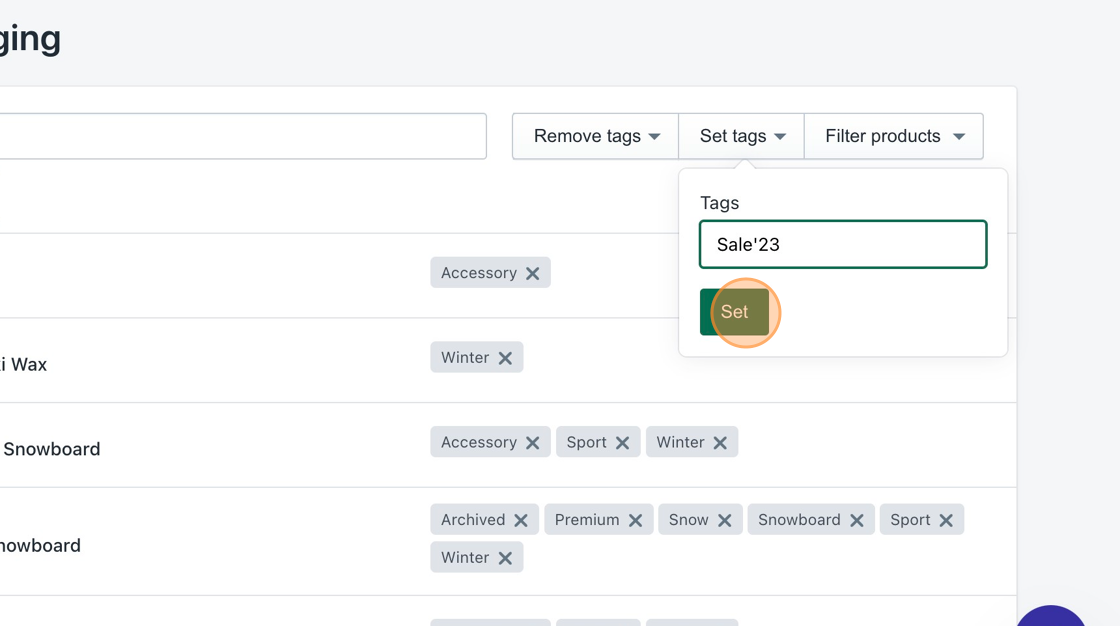
Step 4: Click "Set tags", enter the tag name in opened menu and click "Set".
Step 5: Select products(s) you want to remove tag(s).

Step 6: Click the "Remove tags" button and select if you want tot delete all tags or tag by it's name.
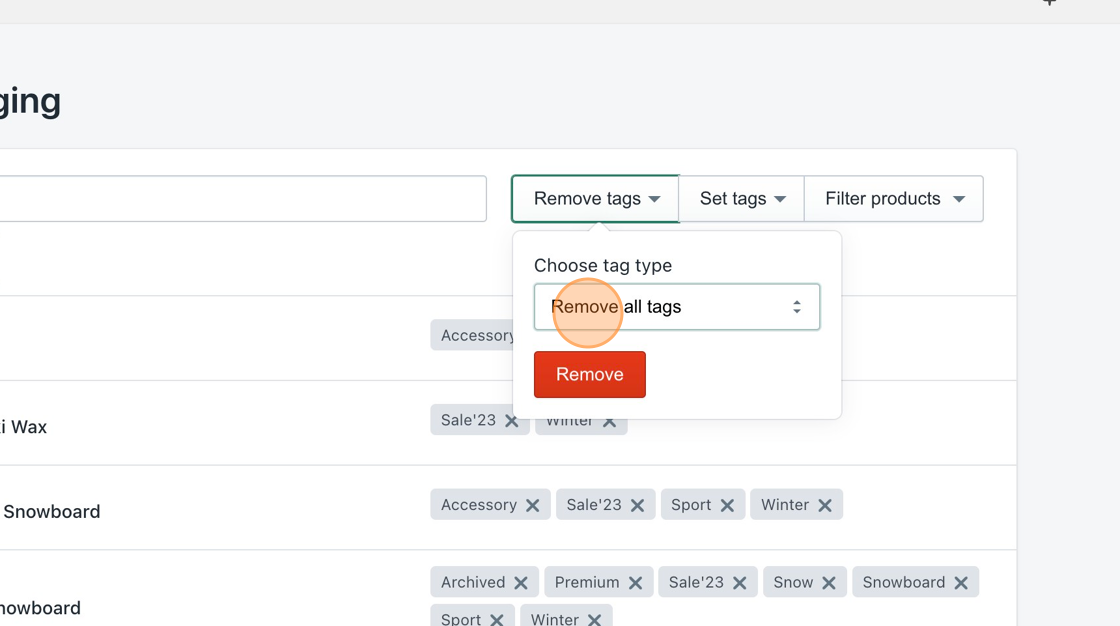
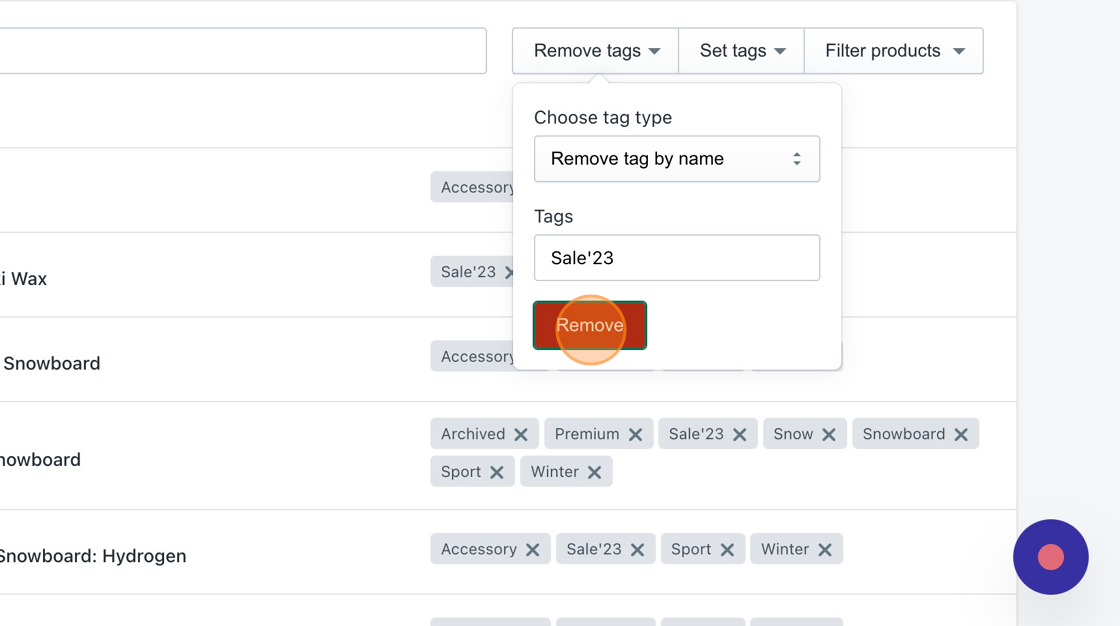
Step 7: To remove tag(s) by name, enter tag(s) name in the text field below.
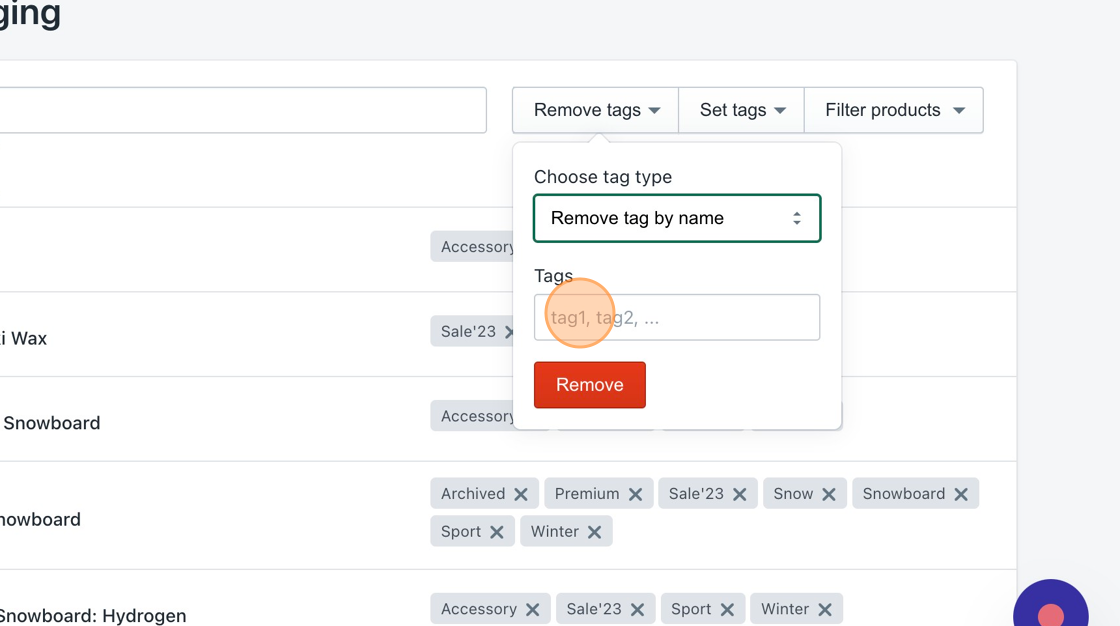
Step 8: Click "Remove" to erase selected tags in bulk.
Auto-tagging Customers in Shopify using the Pro:Tagger app.
Manually tagging each customer can be time-consuming, especially for stores with a large customer base. Merchants must be attentive to avoid mistakes and monitor new users to avoid missing someone. In this situation, the customer's auto-tagging option is a lifesaver that simplifies this process, eliminates errors, and allows sellers to focus on other essential aspects of their business.
Let's see how the Pro:Tagger app lets merchants enable auto-tagging in the Shopify store:
Step 1: Install the Pro:Tagger app from the Shopify App Store
Pro:Tagger ‑ bulk & auto tags
Flows/automations to tag your customers based on order details. Bulk customers tags & products tags
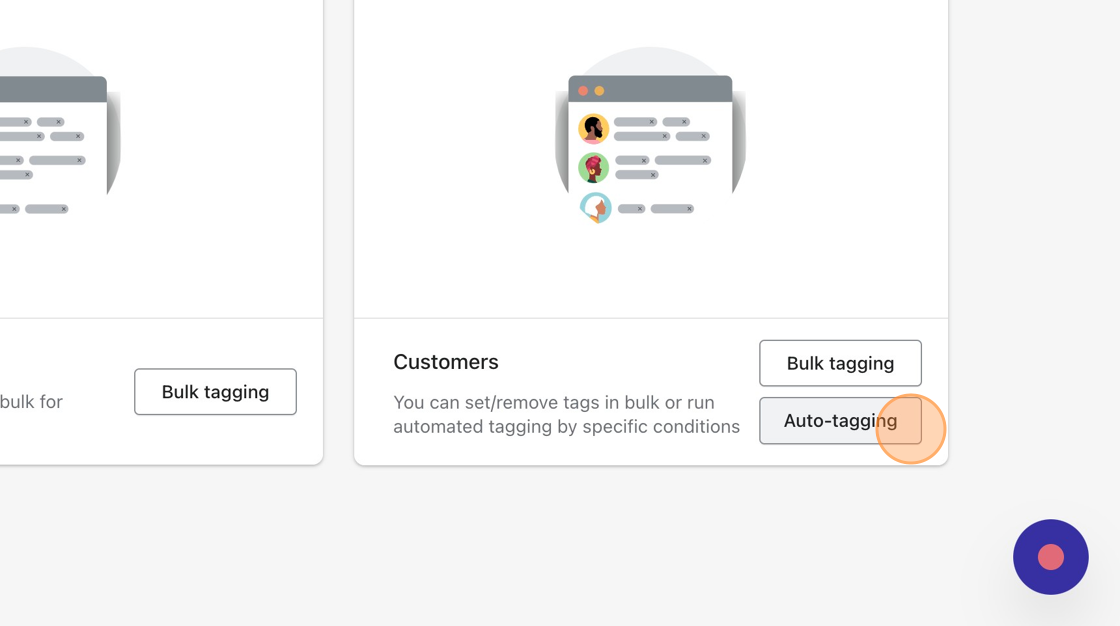
Step 2: On the app's dashboard Click "Auto-tagging"
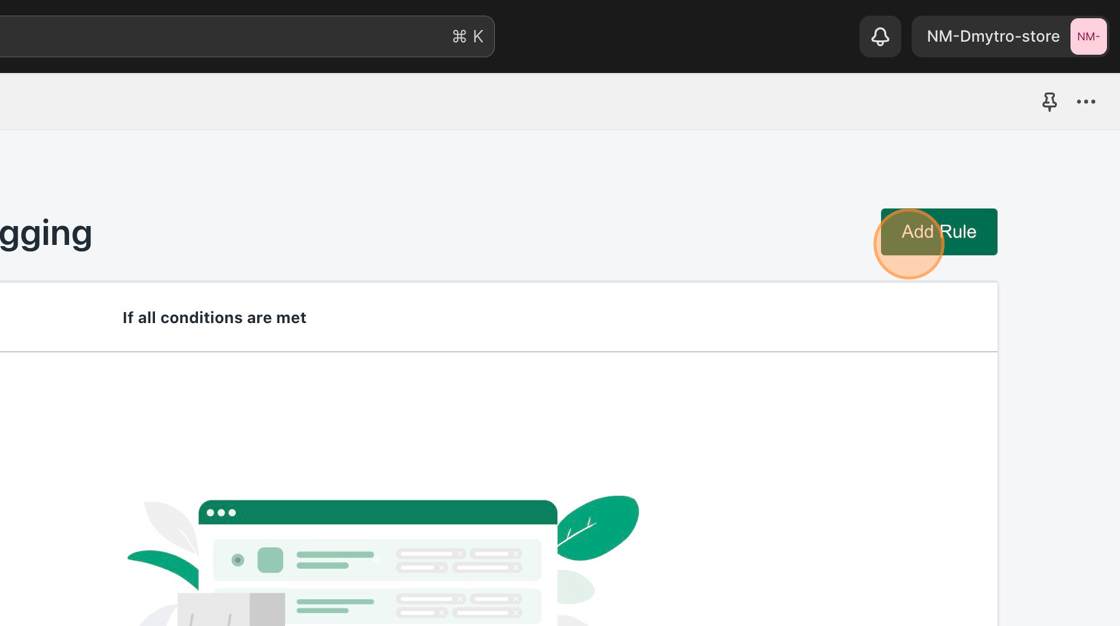
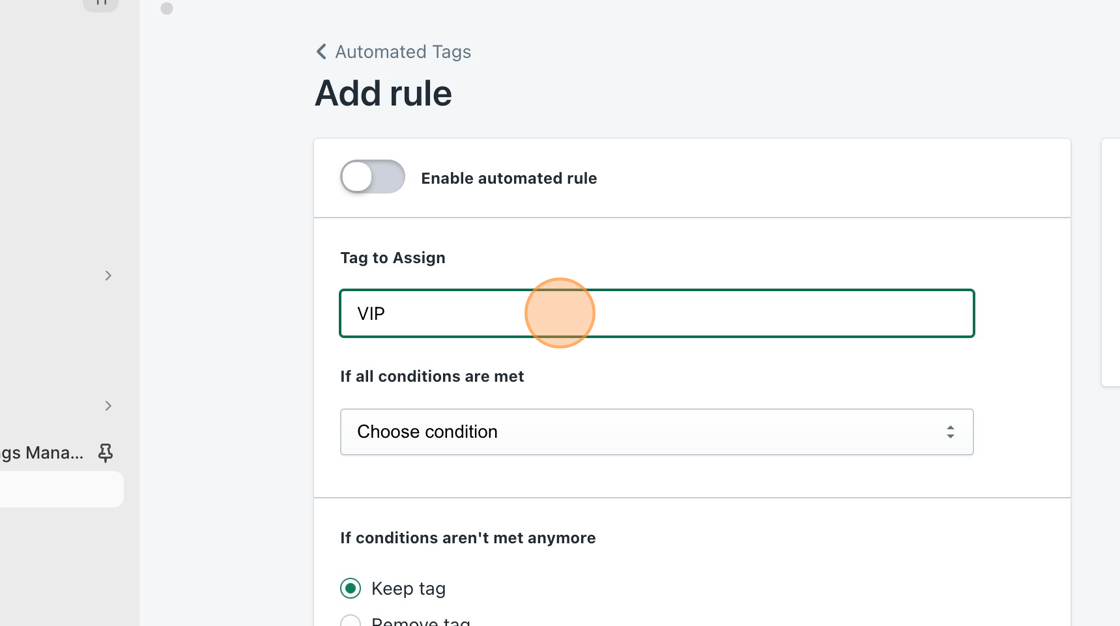
Step 3: Click "Add Rule"
Step 4: Enter Tag name
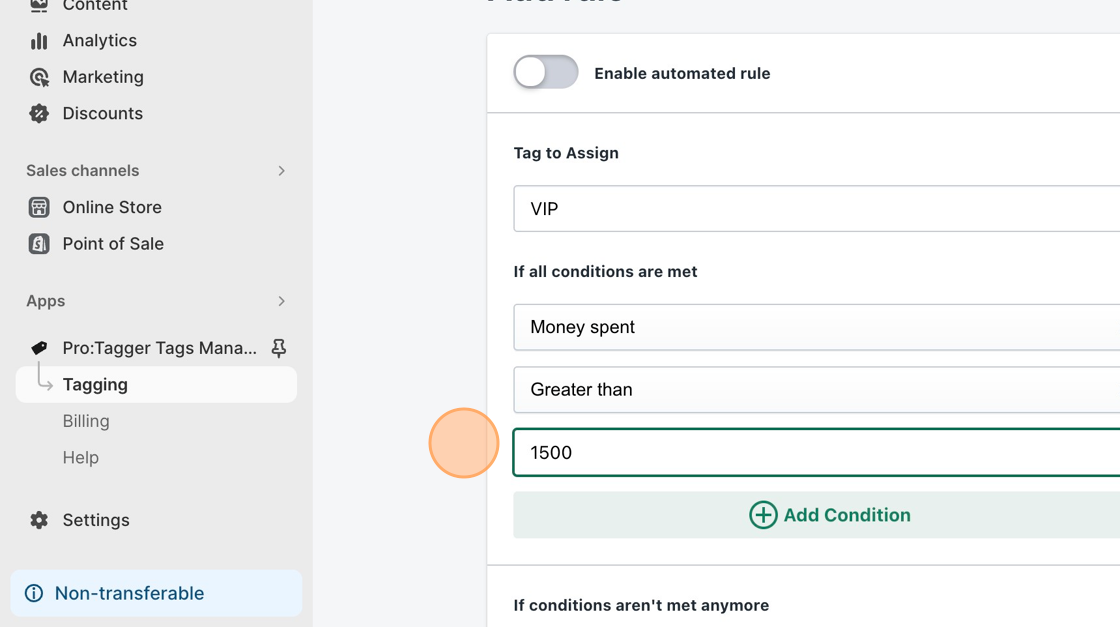
Step 5: Fill up all necessary conditions to apply auto-tag
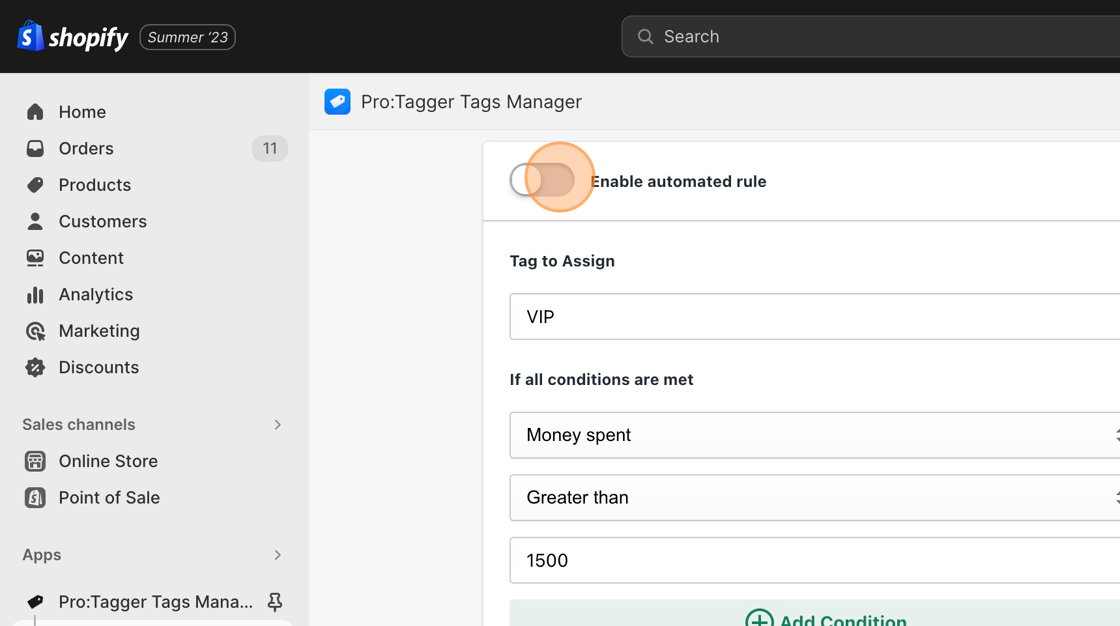
Step 6: Enable automated rule
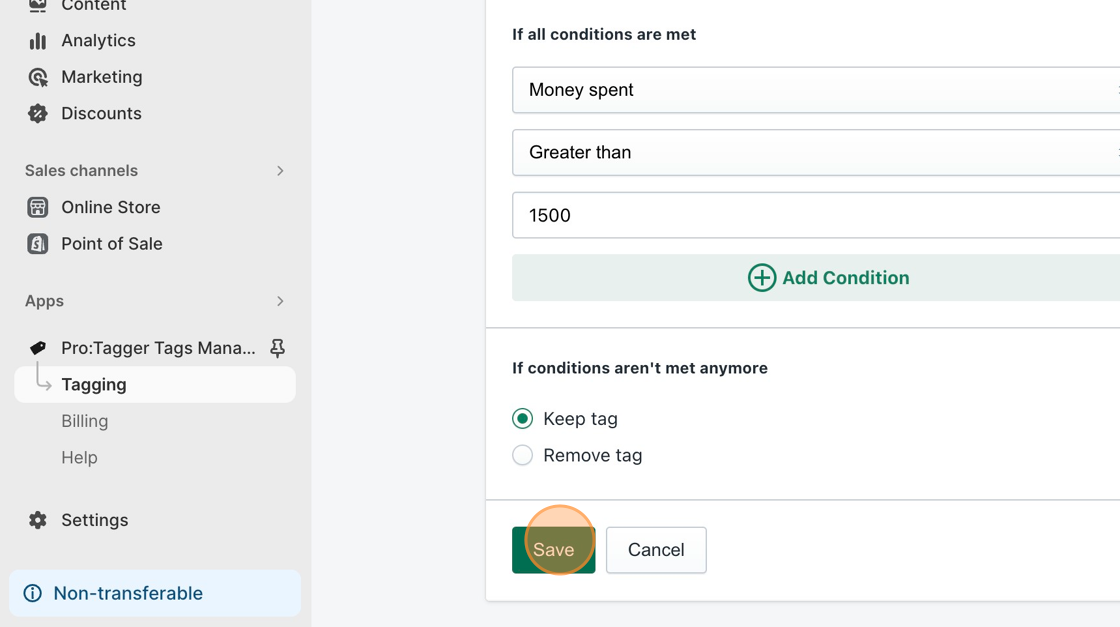
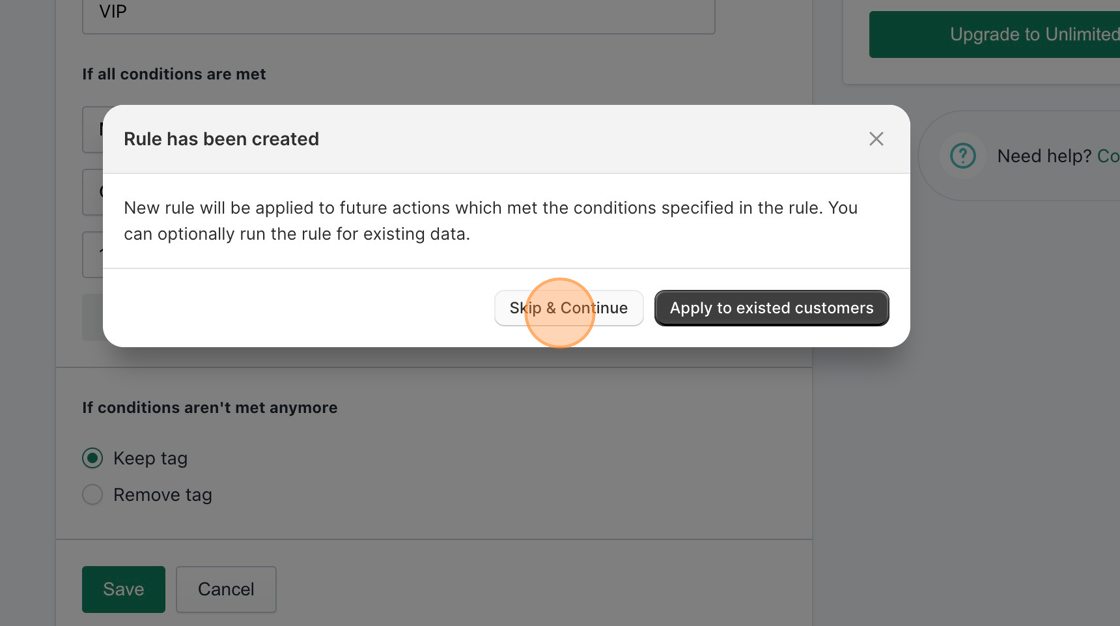
Step 7: Click "Save"
Step 8: Click "Skip & Continue" or apply the new rule to the existing customers.
Frequently Asked Questions
Can I edit tags for multiple products at once in Shopify?
Yes, you can edit tags for multiple products simultaneously using the Pro:Tagger app for Shopify.
What are auto-tags in Shopify?
Auto-tagging is also available in the Pro:Tagger app. You can tag customers based on the list of conditions, like Number of orders, Placed an order, Date created, Accepts email marketing, Abandoned an order, Account status, Tagged with, and Located in.
Does Pro:Tagger have a Trial?
Yes, ProTagger offers 7 days free trial period. Give it a try, and you’ll love it.
Also, check out our previous article, describing best practices in using Shopify tags.